Practical chemistry for exams›RP12 - Thin layer chromatography

RP12 - Thin layer chromatography

An overview of RP12 - Thin layer chromatography
5 min

In AQA Required Practical 12 – Thin layer chromatography, the aim of the investigation is to separate and identify the active ingredients in an over-the-counter analgesic using thin layer chromatography (TLC).

Solutions of ibuprofen, paracetamol, caffeine, and aspirin, alongside a composite tablet are applied to a TLC plate and are separated.

The investigation involves calculating the Rf values of the separated substances and comparing them to literature.

Add to favourites

In Required Practical 12: Thin layer chromatography, as outlined by AQA, there are several important safety requirements to be aware of (beyond normal lab practice such as wearing goggles).

  • Keep all flammable solvents (ethanol and ethyl acetate) away from naked flames or heat sources.
  • Dry the TLC plate and use the UV lamp in a fume cupboard. Ethyl acetate vapour should not be inhaled, and direct exposure to UV light can damage eyes – always view TLC plates under a shielded or enclosed UV lamp.
  • Avoid skin contact with the solvents and prepared solutions. Ethanol and ethyl acetate can cause irritation. If contact occurs, wash the affected area thoroughly with water.
Add to favourites

Experimental method for AQA Required Practical 12 – Thin layer chromatography
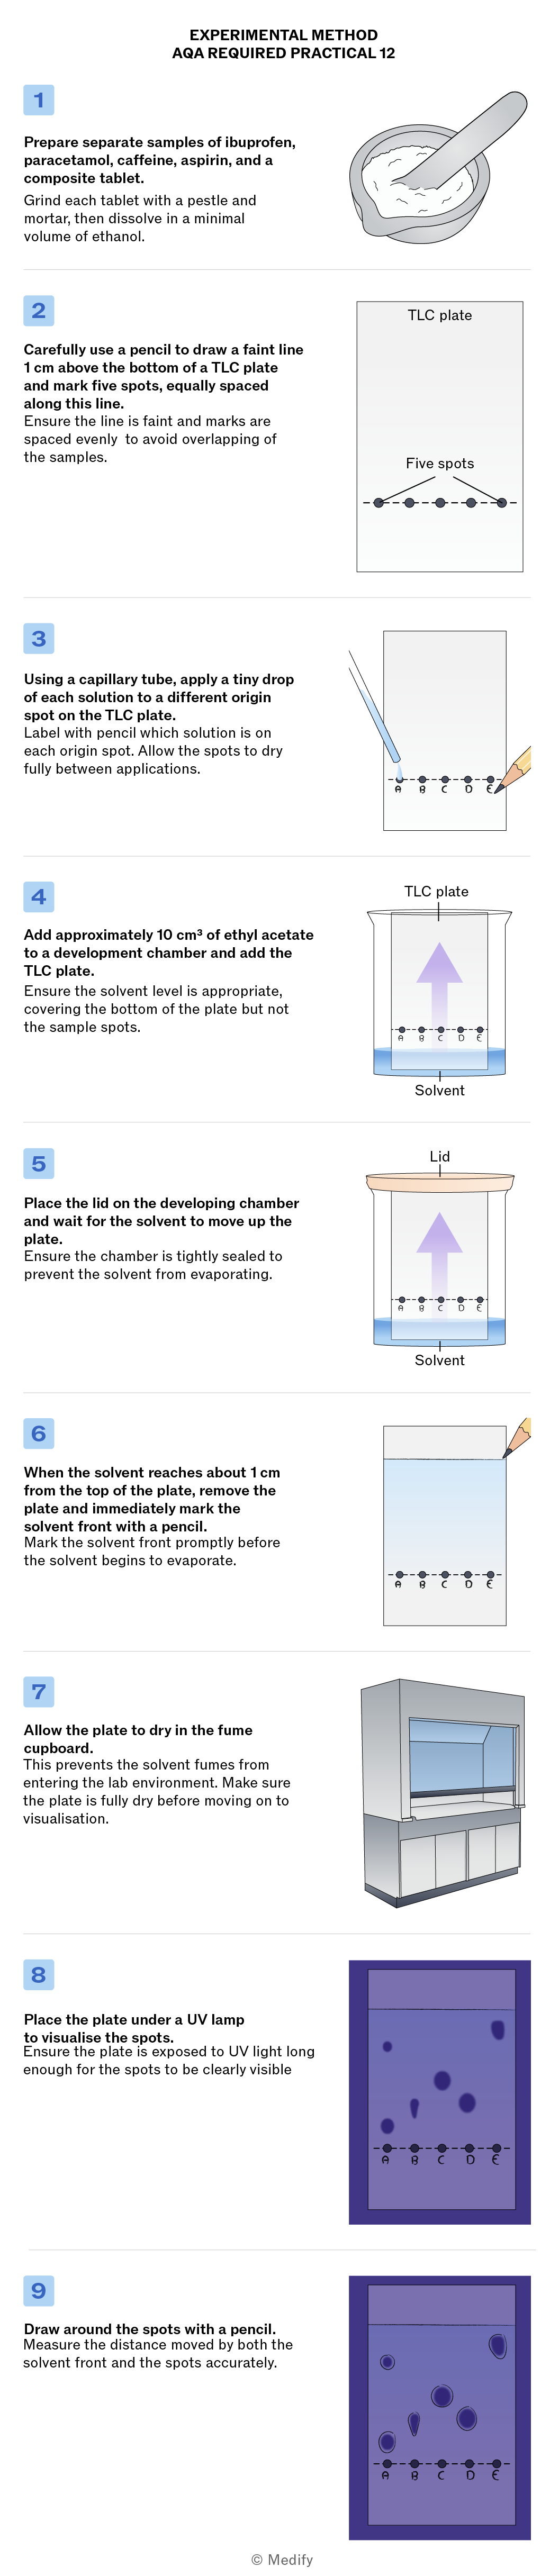
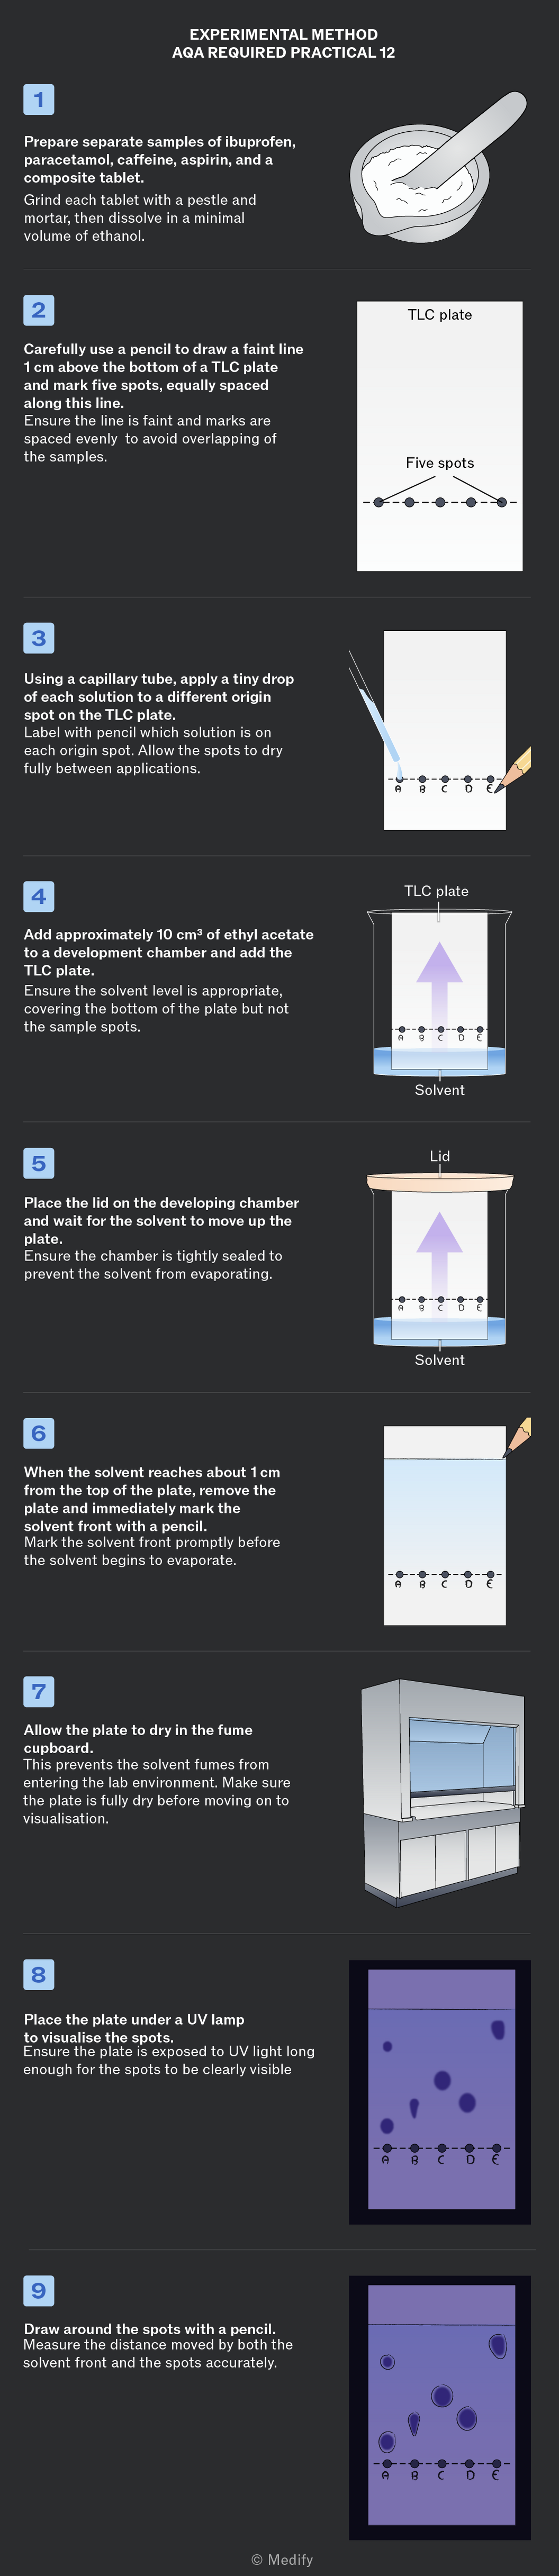
EXPERIMENTAL METHOD AQA REQUIRED PRACTICAL 12 1 Prepare separate samples of ibuprofen, paracetamol, caffeine, aspirin, and a composite tablet. Grind each tablet with a pestle and mortar, then dissolve in a minimal volume of ethanol. 2 Carefully use a pencil to draw a faint line 1 cm above the bottom of a TLC plate and mark five spots equally spaced along this line. Ensure the line is faint and marks are spaced evenly to avoid overlapping of the samples. 3 Using a capillary tube, apply a tiny drop of each solution to a different origin spot on the TLC plate. Label with pencil which solution is on each origin spot. Allow the spots to dry fully between applications. 4 Add approximately 10 cm³ of ethyl acetate to a development chamber and add the TLC plate. Ensure the solvent level is appropriate, covering the bottom of the plate but not the sample spots. 5 Place the lid on the developing chamber and wait for the solvent to move up the plate. Ensure the chamber is tightly sealed to prevent the solvent from evaporating. 6 When the solvent reaches about 1 cm from the top of the plate, remove the plate and immediately mark the solvent front with a pencil. Mark the solvent front promptly before the solvent begins to evaporate. 7 Allow the plate to dry in the fume cupboard. This prevents the solvent fumes from entering the lab environment. Make sure the plate is fully dry before moving on to visualisation. 8 Place the plate under a UV lamp to visualise the spots. Ensure the plate is exposed to UV light long enough for the spots to be clearly visible. 9 Draw around the spots with a pencil. Measure the distance moved by both the solvent front and the spots accurately. © Medify
Add to favourites

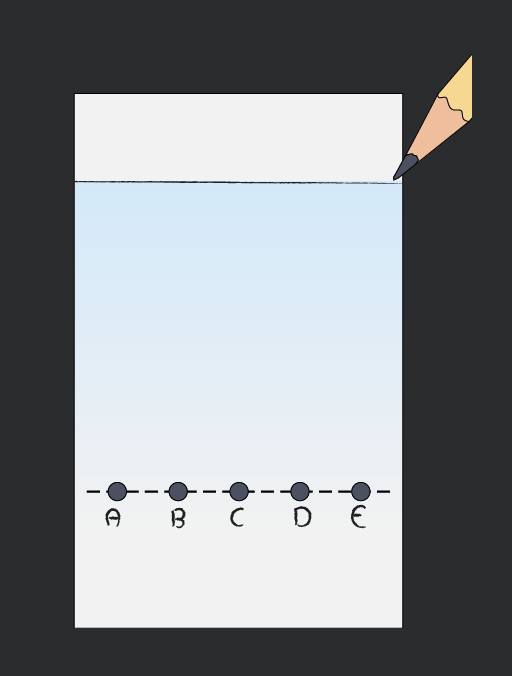
Best practice when preparing a TLC plate.
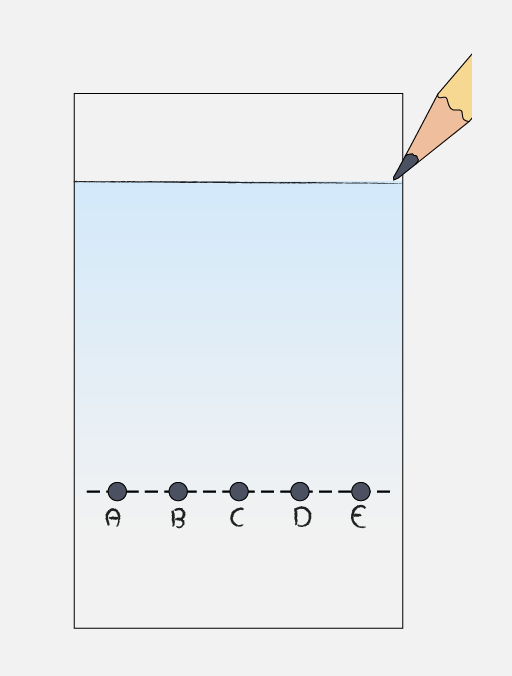
A glass filled with water, with a pencil poised above it. Below the water line, there are five labeled points marked A, B, C, D, and E, connected by a dashed line.
Do

Use a pencil to draw a faint baseline 1 cm from the bottom and apply small, equally spaced spots using a capillary tube.

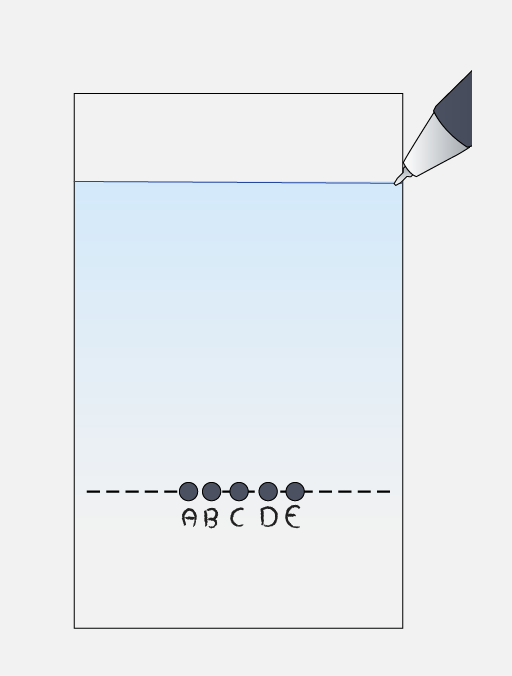
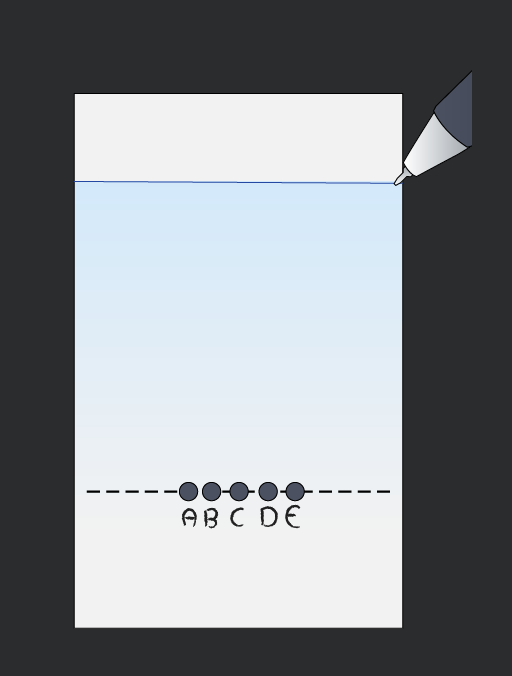
A diagram showing a container filled with light blue water. At the bottom, there are five dark circles labeled A, B, C, D, and E, with a dashed line above them. A pen is positioned at the top right, poised to touch the water.
Don't

Use a pen to draw the baseline – the ink may be soluble in the solvent, affecting the results.
Place spots close together – these can run up the plate together and be hard to distinguish.

Add to favourites

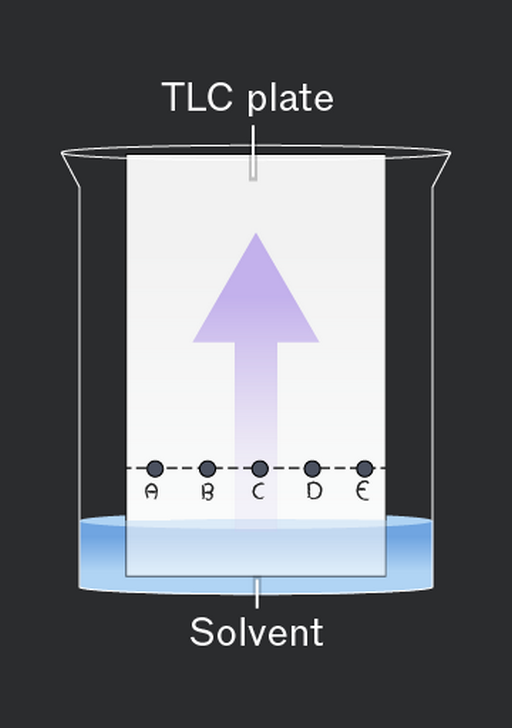
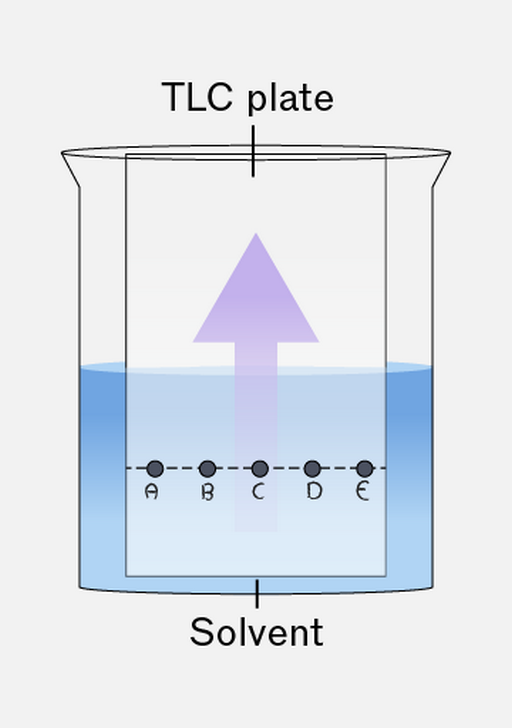
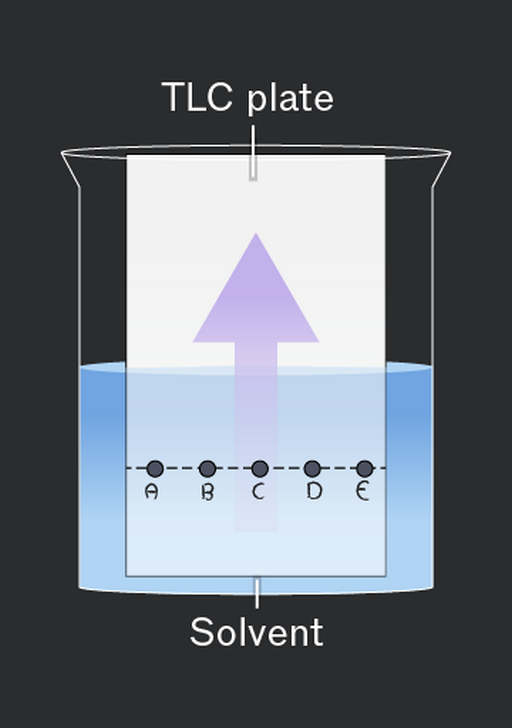
The level of the solvent in the developing chamber is important in thin layer chromatography.
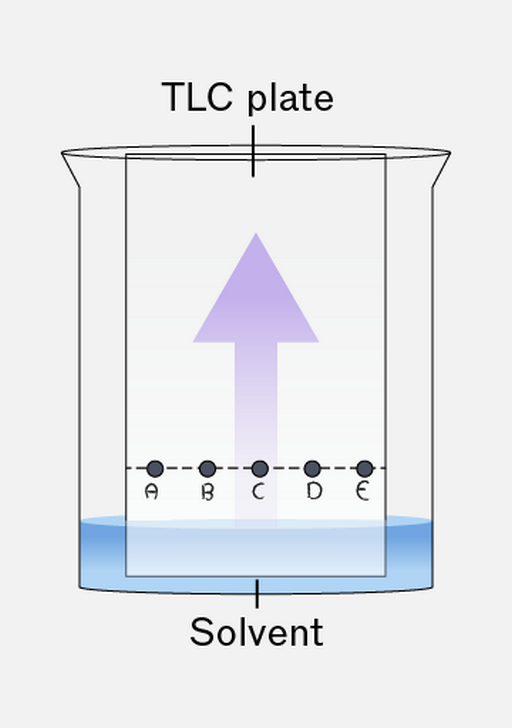
A diagram showing a TLC plate positioned above a solvent in a beaker. The TLC plate is labeled at the top, and the solvent is labeled at the bottom. There are five points marked A, B, C, D, and E along the bottom of the TLC plate, with an upward arrow indicating the movement of the solvent.
Do

Ensure the solvent level is below the pencil line when placing the plate in the chamber.

A diagram showing a TLC plate submerged in a solvent within a beaker. The TLC plate is positioned vertically with an upward arrow indicating movement. Below the plate, there are labels A, B, C, D, and E marked along a dashed line.
Don't

Let the solvent cover the spots – they will dissolve into the solvent and move from their original start-point.

Add to favourites

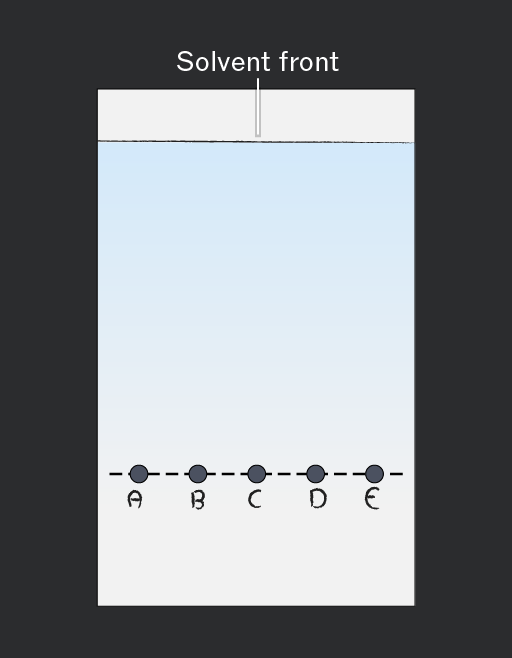
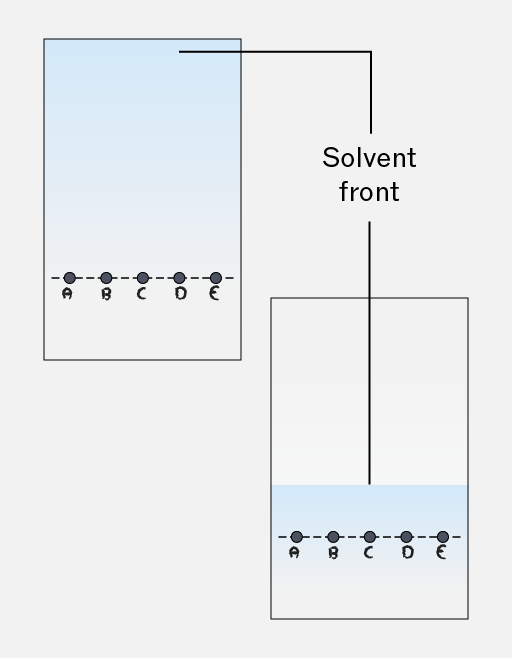
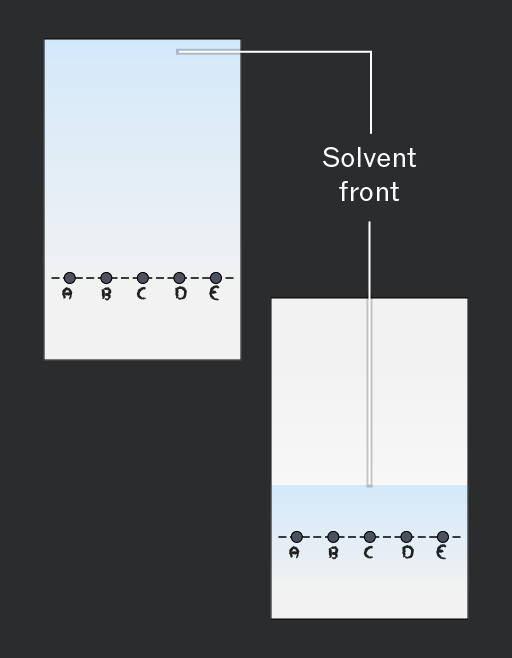
The timing of plate removal in thin layer chromatography is critical for robust analysis.
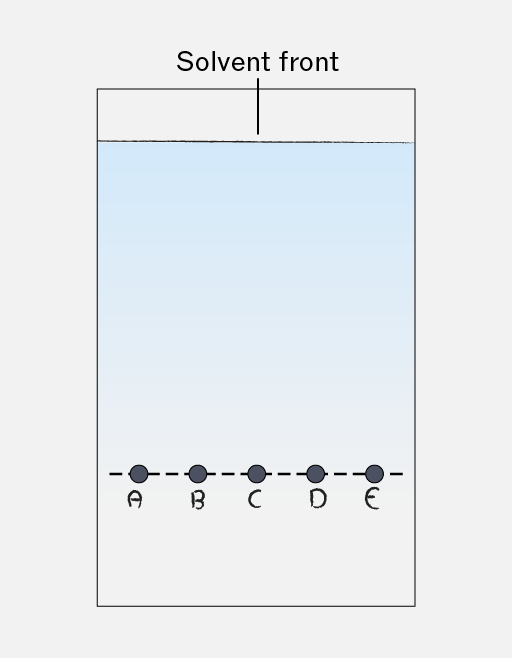
An illustration showing a solvent front at the top. Below it, there are five labeled points marked A, B, C, D, and E, arranged in a horizontal line.
Do

Remove the plate when the solvent front is ~1 cm from the top and dry it in a fume cupboard before viewing under UV.

Two diagrams showing a solvent front. The first diagram shows a light blue background with a dashed line and labels A, B, C, D, and E at the bottom. The second diagram also has a light blue background with a solvent front indicated, and the same labels A, B, C, D, and E at the bottom.
Don't

Leave the plate too long – if the solvent front goes to the top of the plate the distance moved by the solvent cannot be quantified.
Remove the plate too soon – if the solvent front has not moved far the separation will be less and the Rf calculations will lack resolution.

Add to favourites

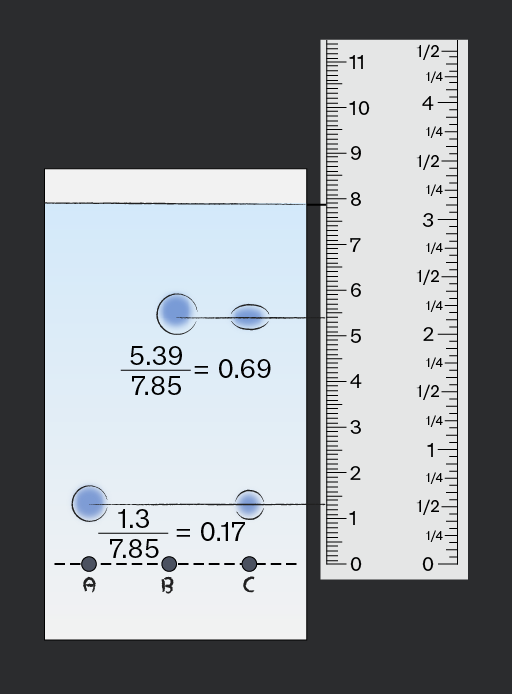
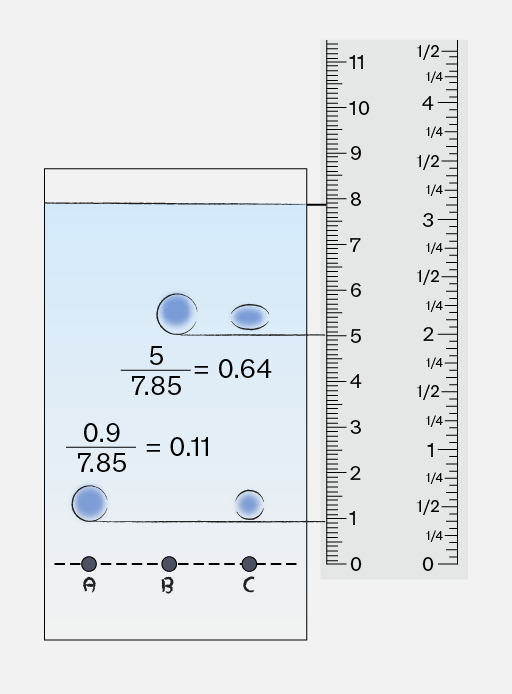
Identify the center of each component spot when analysing thin layer chromatography.
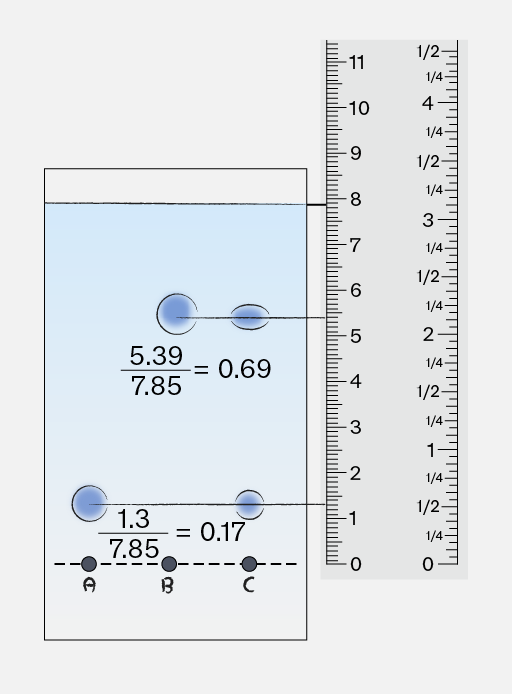
A diagram showing a container with water and three bubbles labeled A, B, and C. The text '5.39 / 7.85 = 0.69' is positioned above two bubbles, and '1.3 / 7.85 = 0.17' is below the bubbles. A ruler is displayed on the right side, marked with measurements from 0 to 11.
Do

Use a ruler to measure from the baseline to the centre of each spot and to the solvent front.

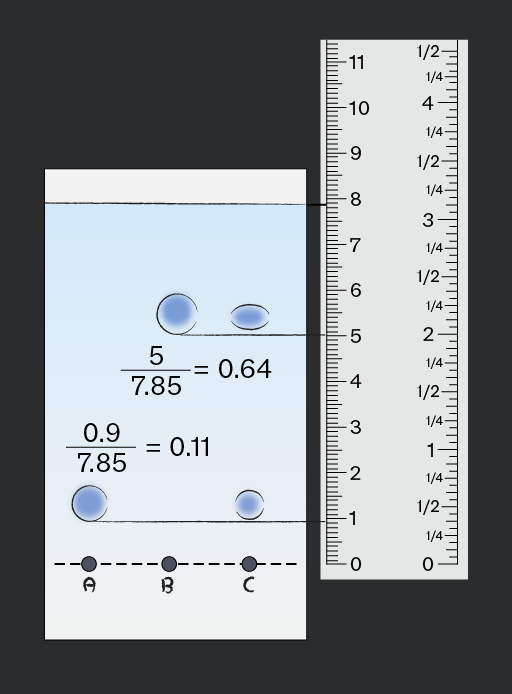
An illustration showing a container with three blue circles labeled A, B, and C at the bottom. Above the circles, there are two fractions: 5/7.85 = 0.64 and 0.9/7.85 = 0.11. To the right, there is a ruler marked with measurements from 0 to 11, with fractional divisions of 1/4 and 1/2.
Don't

Measure to the base of the spots – the Rf is based on the mean movement of the sample.

Add to favourites

The Rf value (retention factor) for each spot in thin layer chromatography analysis is calculated using the formula:

  • Measure from the pencil line (origin) to the centre of each spot.
  • Measure the distance the solvent travelled from the origin line to the solvent front.
  • Rf values should be recorded to two decimal places for accuracy and comparability.
  • Rf value comparisons can determine the identity of the components in the over-the-counter analgesic.
Add to favourites