Module 1: Practical chemistry for exams›PAG 2.1 - Determination of the concentration of hydrochloric acid

PAG 2.1 - Determination of the concentration of hydrochloric acid

An overview of PAG 2.1 - Determination of the concentration of hydrochloric acid
4 min

In OCR Chemistry Required Practical 2 (PAG 2.1), the concentration of a stock solution of hydrochloric acid is determined through titration with a sodium hydrogencarbonate standard solution.

The indicator used is methyl orange, which is red in acid and yellow in alkali. At the end point of the titration, the colour is orange.

Add to favourites

In OCR PAG 2.1: Determination of concentration of hydrochloric acid, there are several important safety requirements to be aware of (beyond normal lab practice such as wearing goggles).

  • Sodium hydrogensulfate is an irritant – avoid contact with skin and eyes.
  • Use a pipette filler – never pipette by mouth.
  • Immediately clean up any spills of acid or alkali.
Add to favourites

Experimental method for OCR Chemistry Required Practical 2 (PAG 2.1)

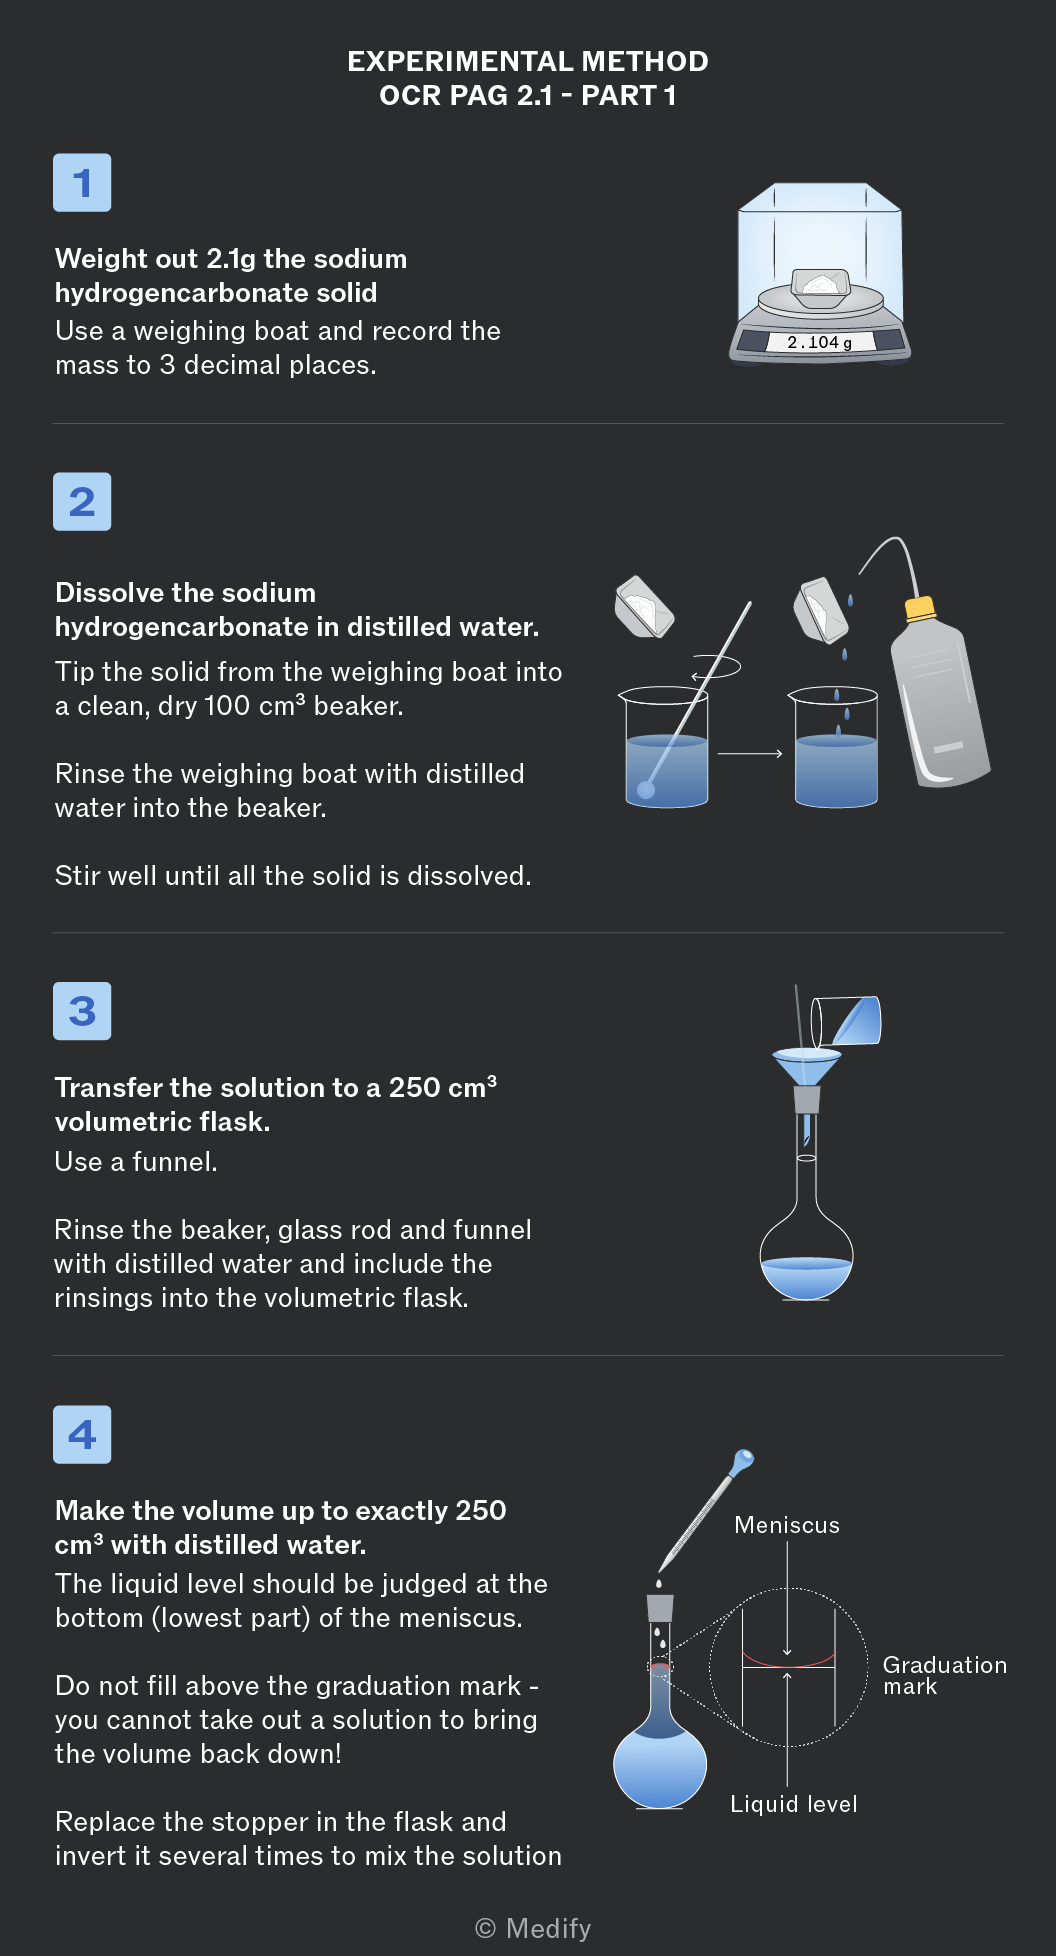
Part 1 Prepare the standard solution.
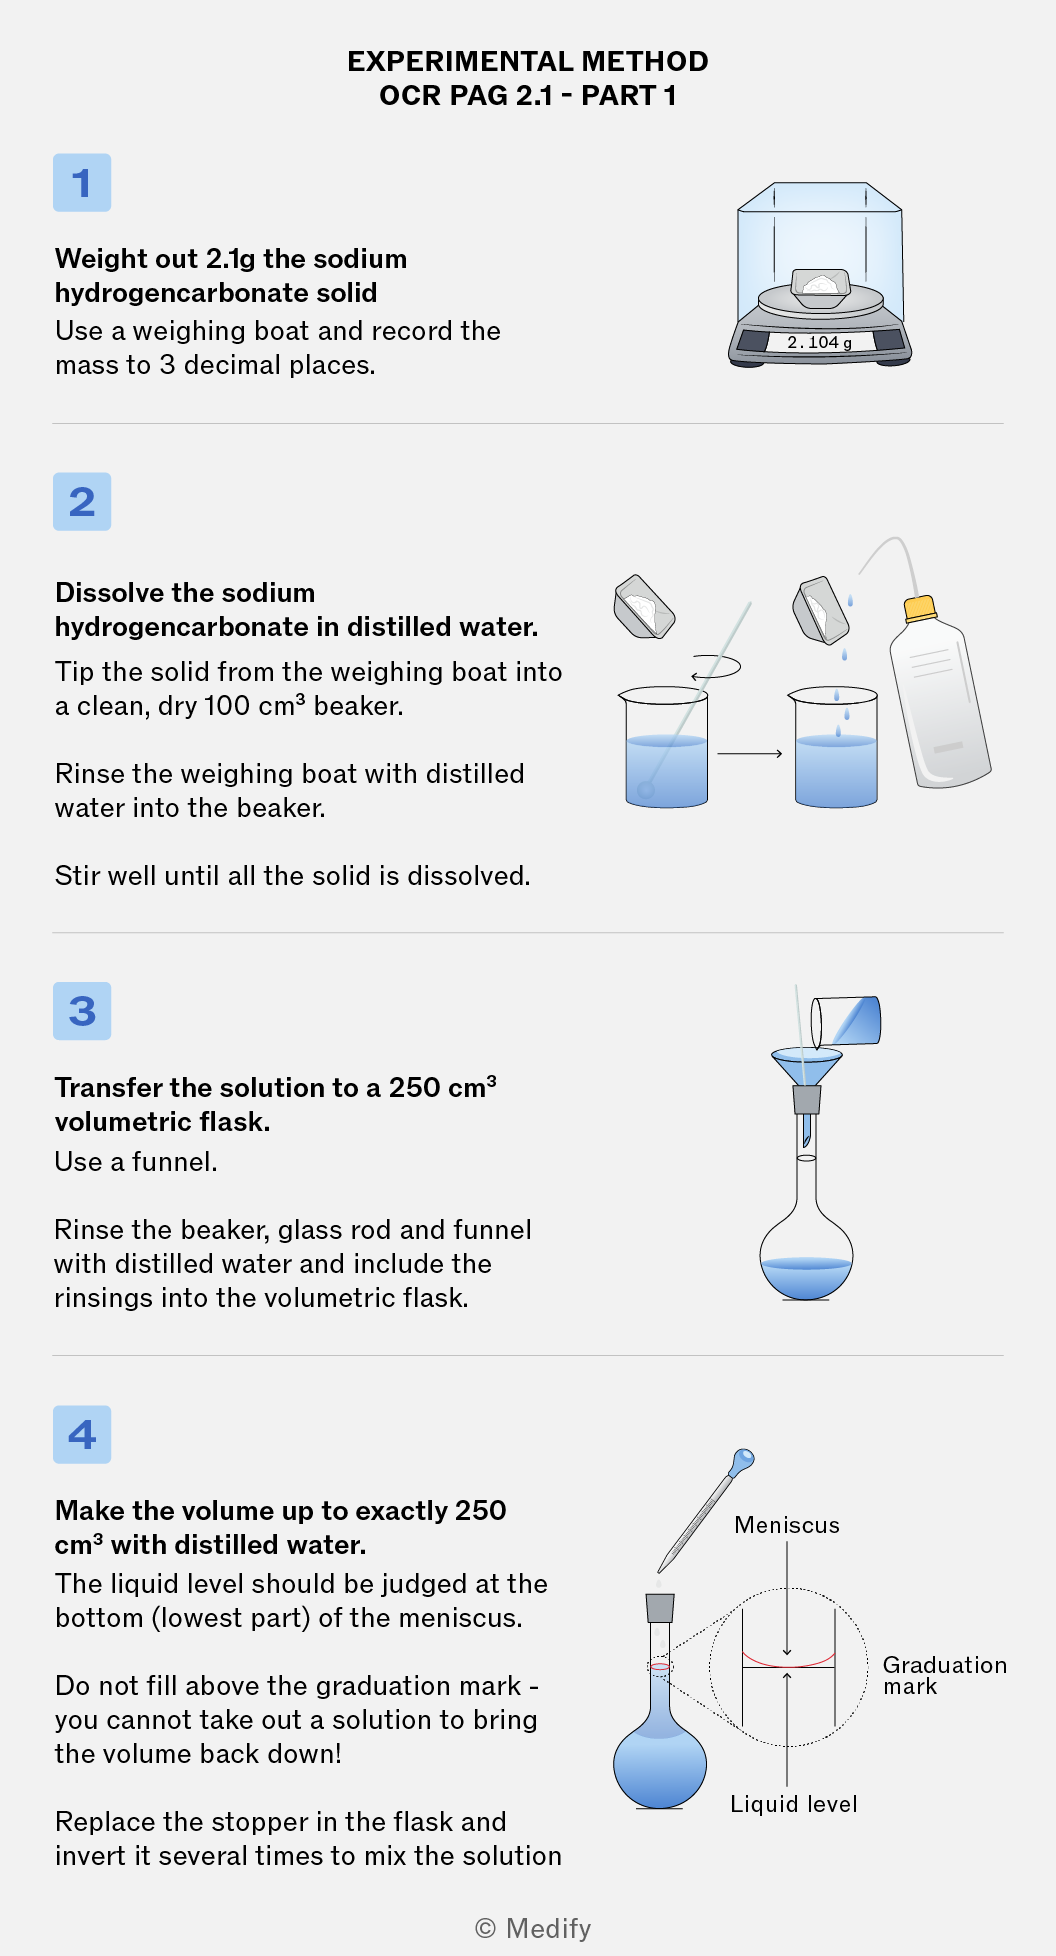
A step-by-step guide for preparing a sodium hydrogen carbonate solution. The image includes four numbered steps: 1) Weighing 2.1g of sodium hydrogen carbonate using a balance, 2) Dissolving the solid in distilled water in a beaker, 3) Transferring the solution to a 250 cm³ volumetric flask using a funnel, and 4) Adjusting the volume to exactly 250 cm³ and mixing the solution. Illustrations accompany each step, showing the equipment and processes involved.
Add to favourites

Experimental method for OCR Chemistry Required Practical 2 (PAG 2.1)

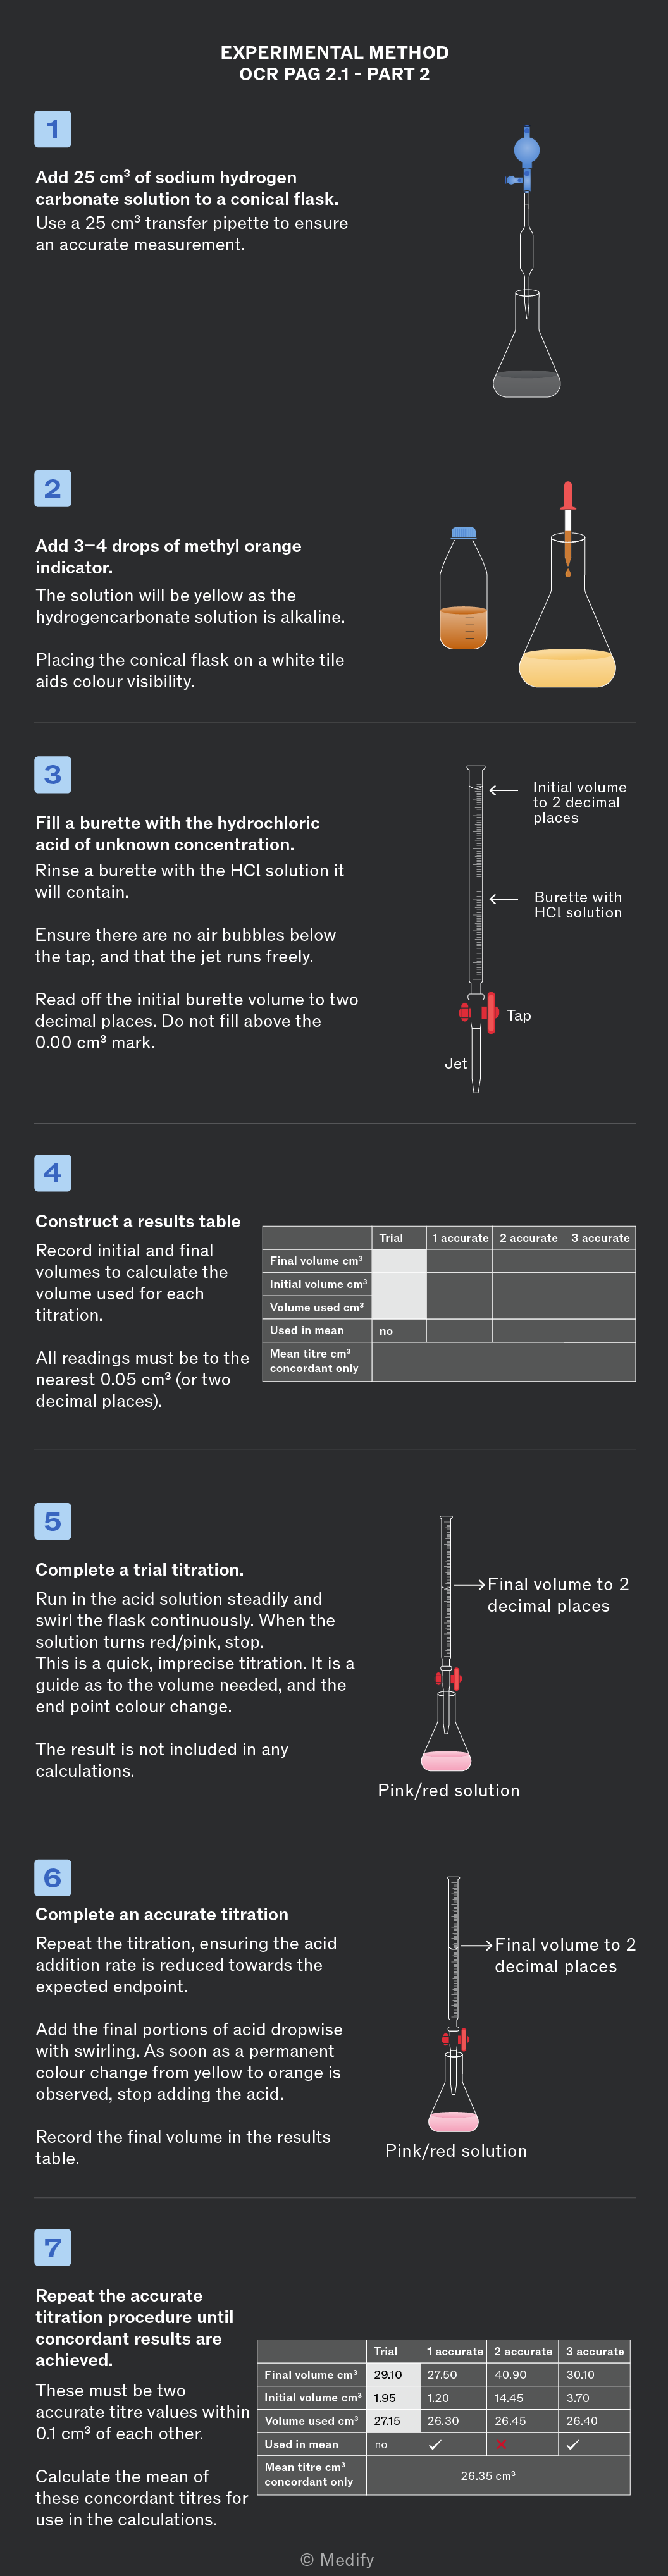
Part 2 The titration
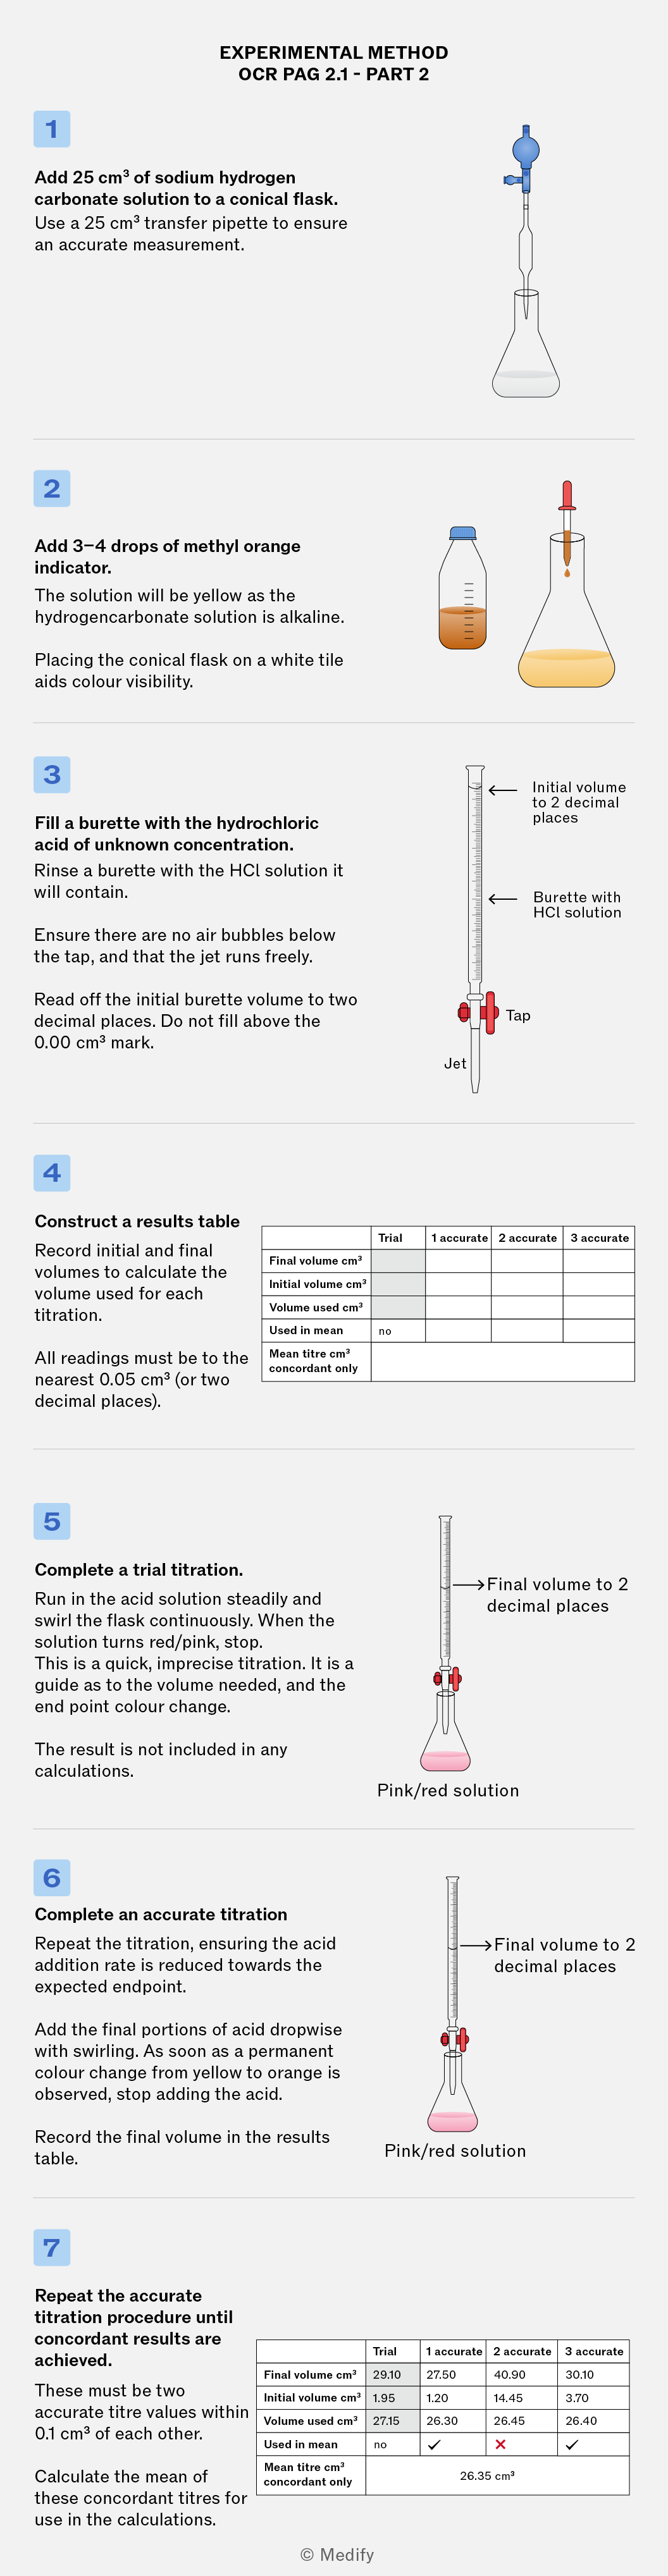
A detailed step-by-step guide for conducting a titration experiment, including instructions for adding sodium hydrogen carbonate, methyl orange indicator, and hydrochloric acid. The guide features numbered steps, illustrations of equipment like a conical flask and burette, and a results table for recording measurements. Key points include ensuring accurate measurements and achieving concordant results.
Add to favourites

The precision of the balance used is critical for ensuring the accuracy of mass measurements and subsequent calculations.
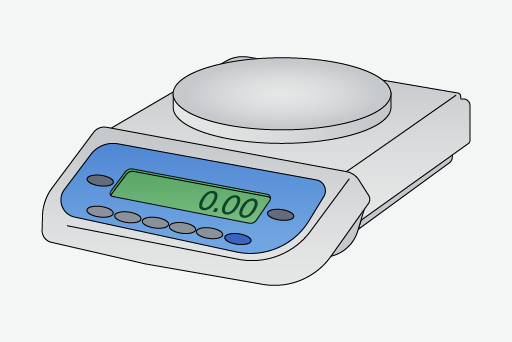
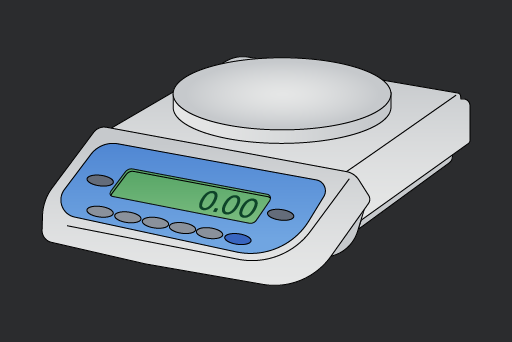
A digital laboratory scale with a circular weighing platform and a blue control panel displaying a reading of 0.00.
Do

Measure solids and liquids precisely. Ensures accurate mole calculations and enthalpy values. A balance with a resolution of at least two decimal places should be used.

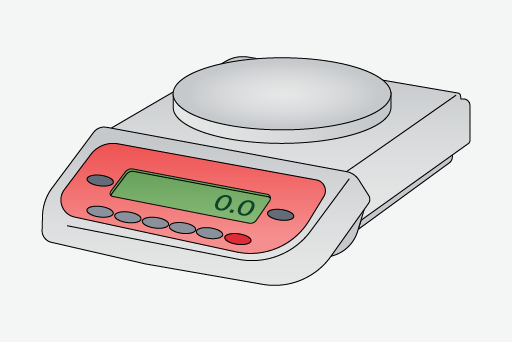
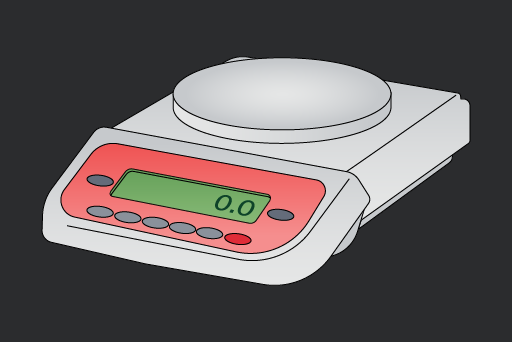
A digital weighing scale with a round platform and a red control panel displaying '0.0' on a green screen.
Don't

Use a balance with a resolution of 1 decimal place or lower.

Add to favourites

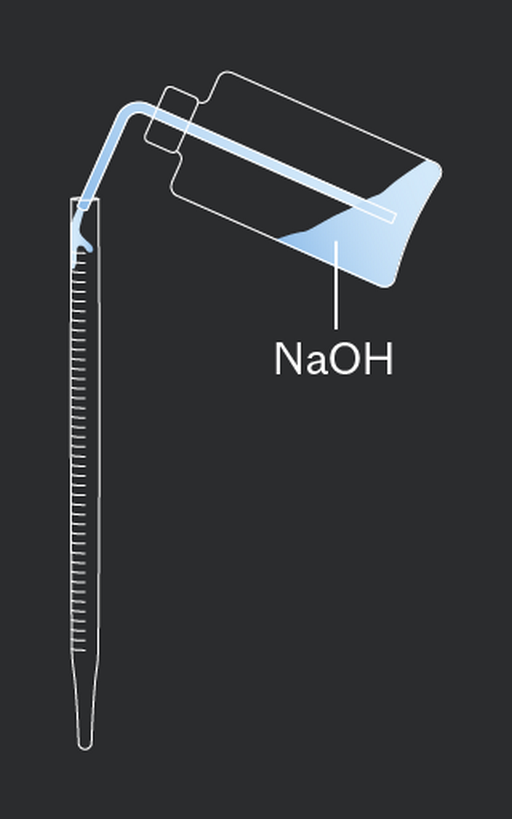
Avoid unintentional dilution of solutions.
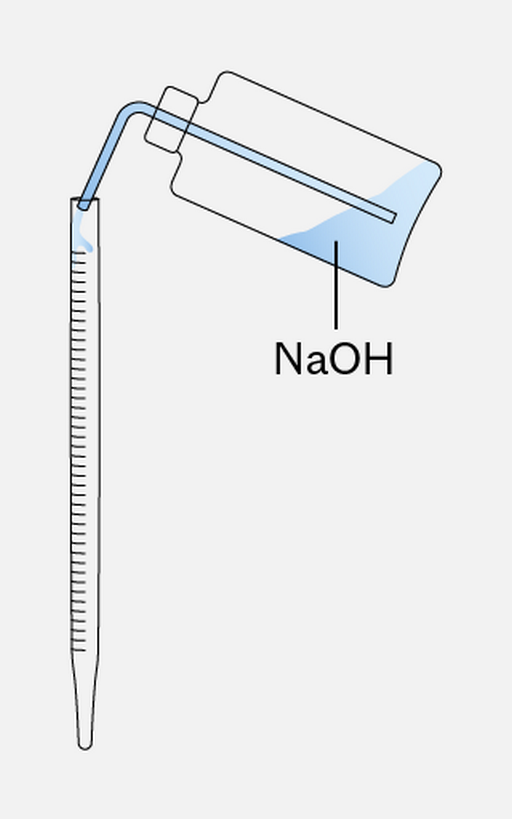
A laboratory pipette with a graduated scale on the side, positioned next to a container labeled NaOH, indicating the presence of sodium hydroxide.
Do

Rinse all glassware used for accurately measuring solution volumes with the solution itself.

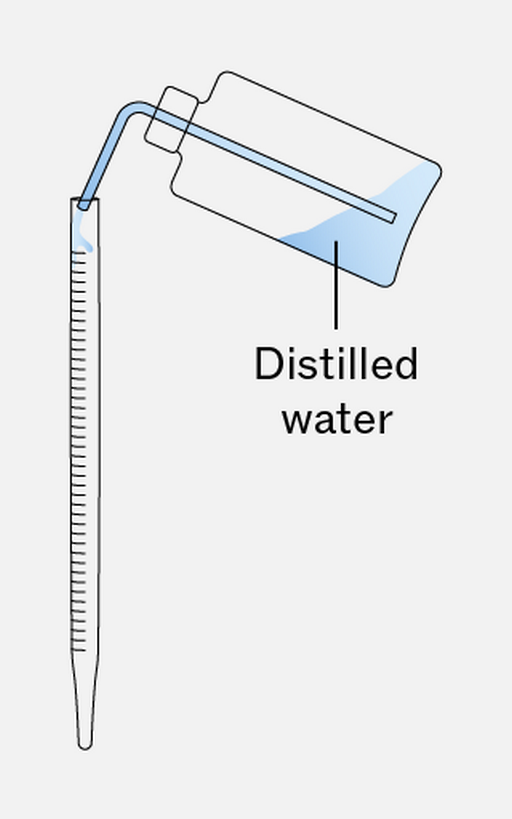
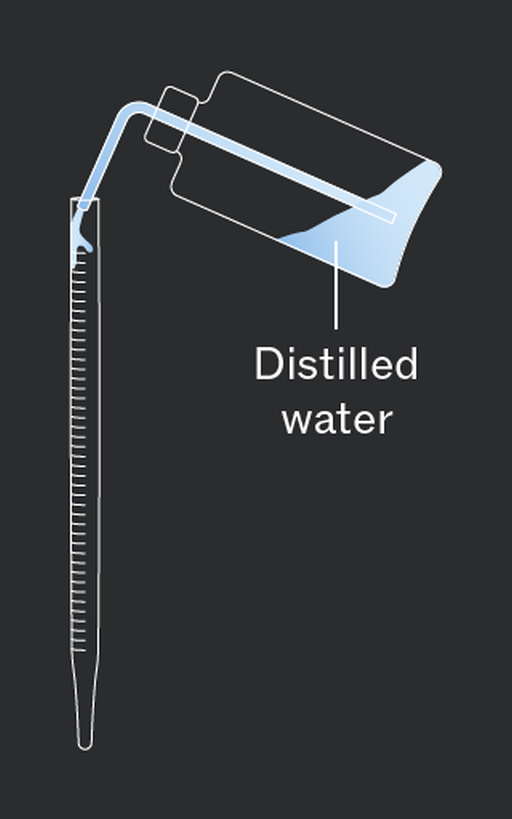
A pipette is shown with a container above it labeled 'Distilled water'.
Don't

Rinse precision glassware with water immediately before use – leftover water will dilute the solution.

Add to favourites

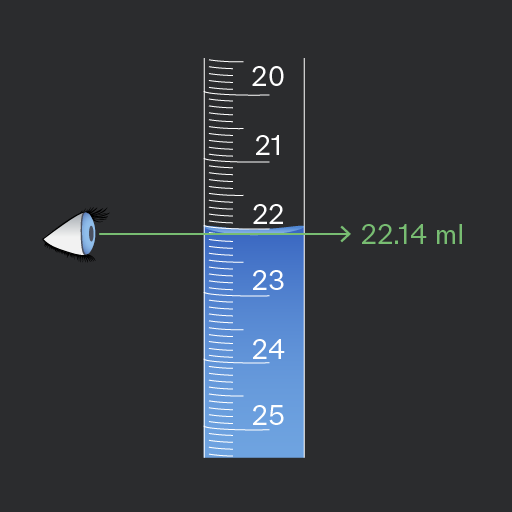
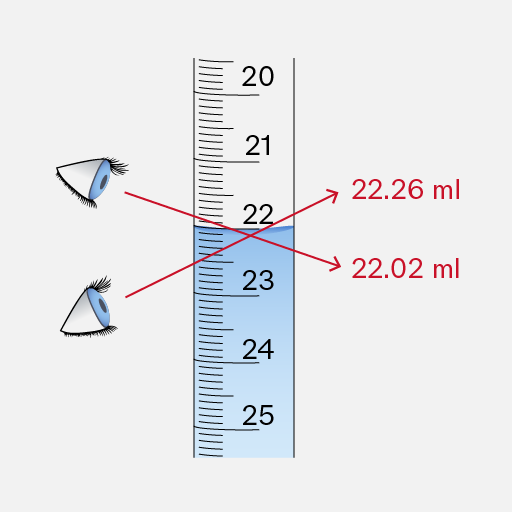
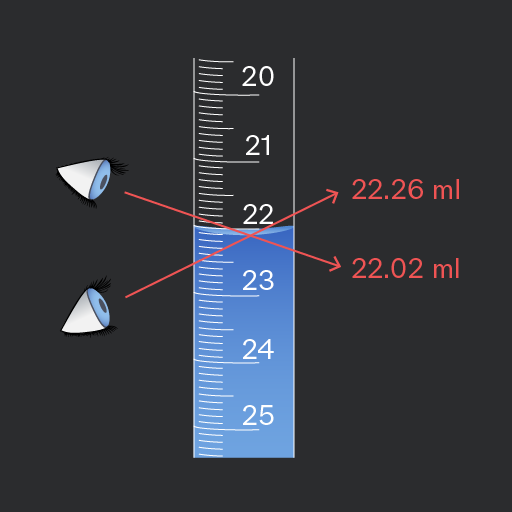
Prevent parallax errors when reading volumes.
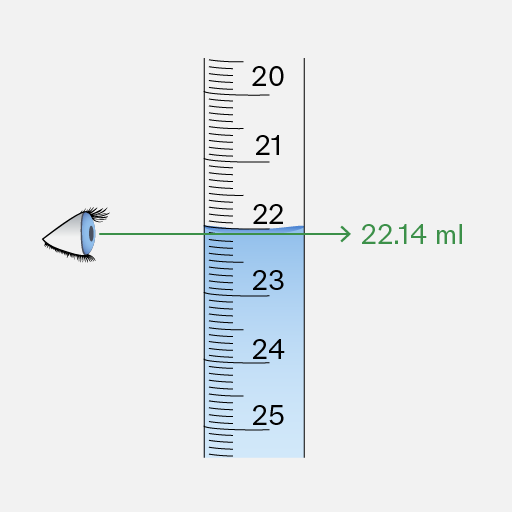
An illustration showing a measuring cylinder with a scale marked from 20 to 25 ml. An eye is depicted on the left side, and a green arrow points to the measurement of 22.14 ml.
Do

Read the burette at eye level and record to

A measurement scale showing values from 20 to 25 ml. Two eyes are illustrated, one pointing to 22.26 ml and the other to 22.02 ml, with red arrows indicating the measurements.
Don't

Read from above or below – this leads to incorrect readings due to parallax error.

Add to favourites

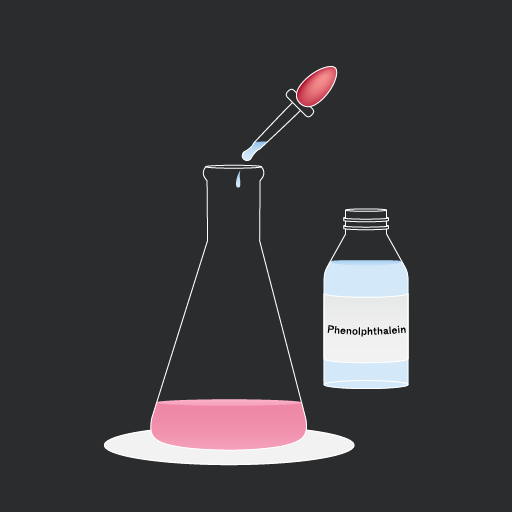
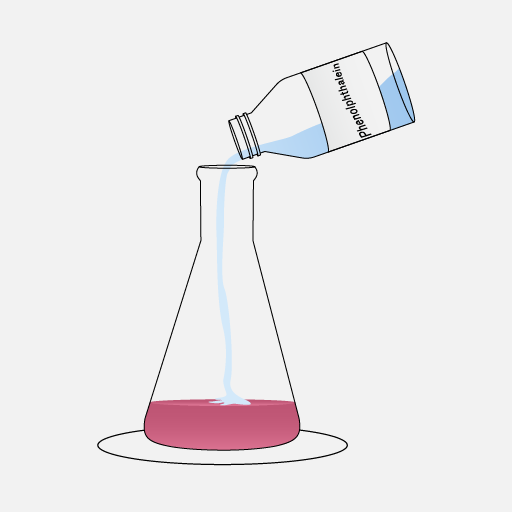
Use only the minimum amount of indicator needed in acid base titration.
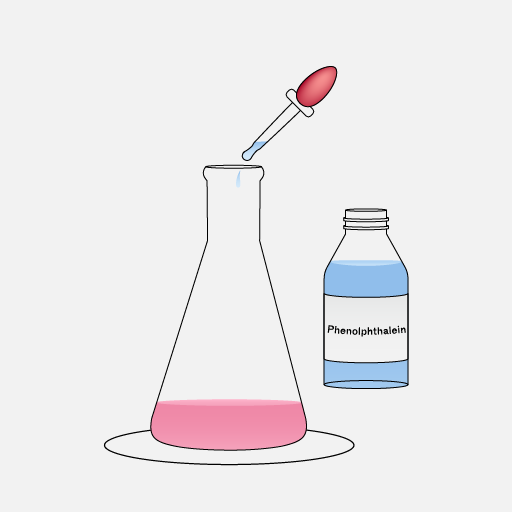
A laboratory scene featuring a flask with pink liquid and a dropper above it. Next to the flask is a bottle labeled 'Phenolphthalein' containing blue liquid.
Do

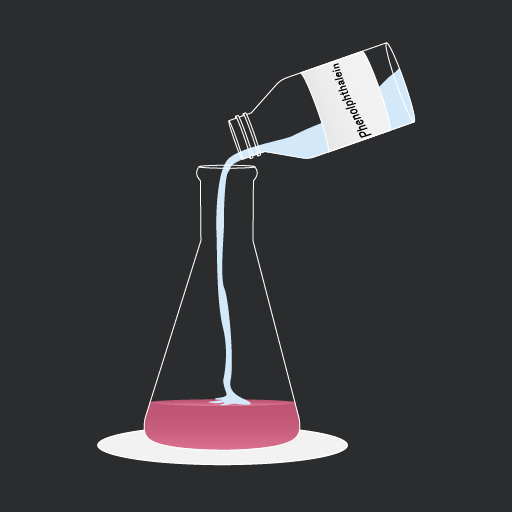
Add just 2–3 drops of phenolphthalein to the flask.

A laboratory scene showing a bottle labeled 'phenolphthalein' pouring a blue liquid into a flask containing a pink solution.
Don't

Add too much indicator – Indicators are weak acids. Excess indicator can affect the pH and affect the titration end point.

Add to favourites

Keep the titration mixture well mixed.
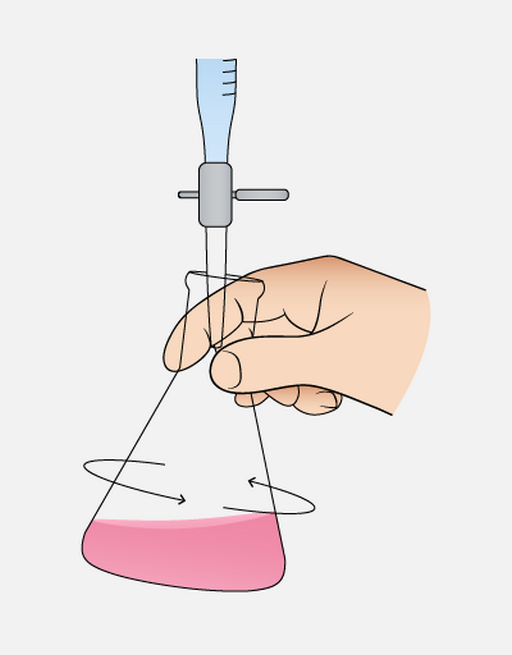
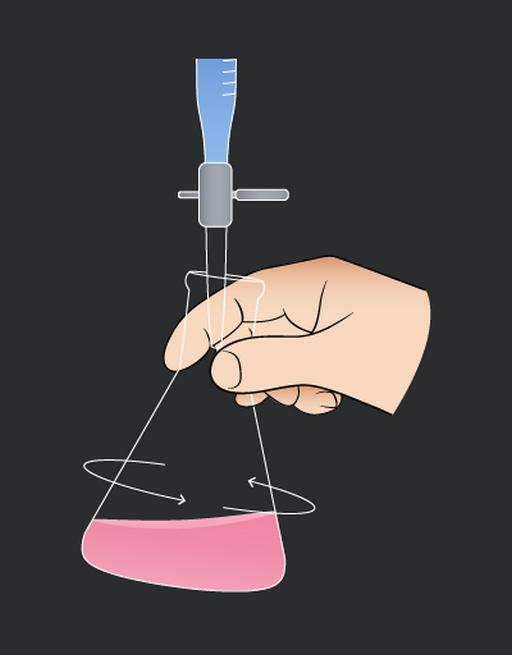
A hand holding a conical flask containing a pink liquid, with arrows indicating swirling motion, and a dropper above the flask.
Do

Swirl the conical flask gently and consistently during titration to ensure complete contact between reactants.

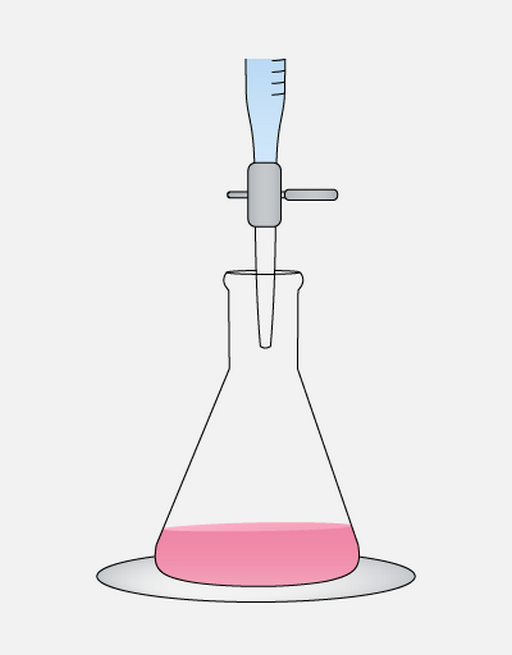
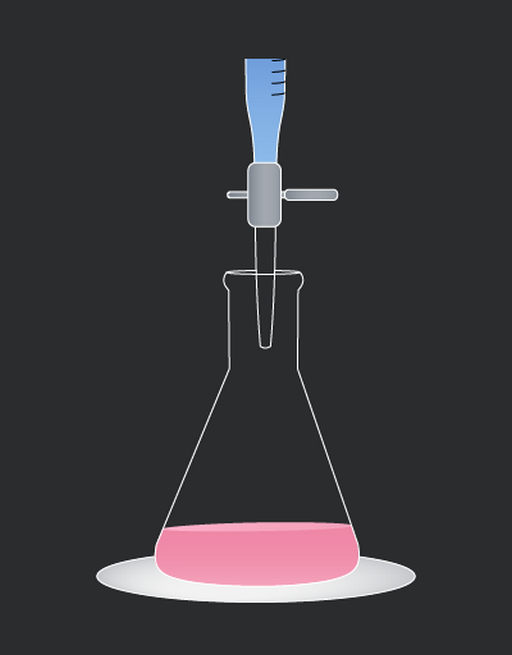
A laboratory setup featuring a conical flask with a pink liquid inside, topped with a pipette holder and a blue pipette.
Don't

Leave the flask still during titration – without swirling, the acid and alkali will not mix properly, leading to an inaccurate endpoint.

Add to favourites

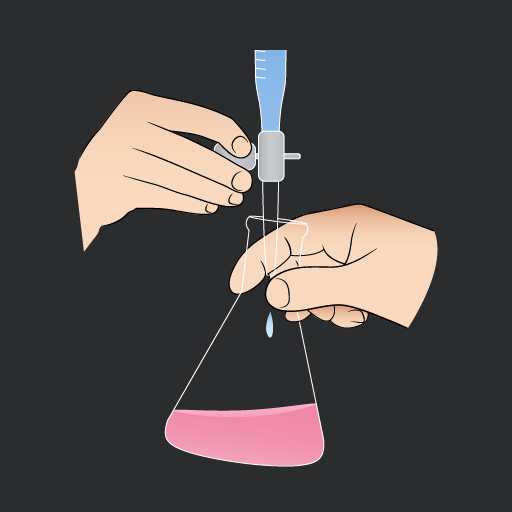
Control the addition of acid as you approach the endpoint.
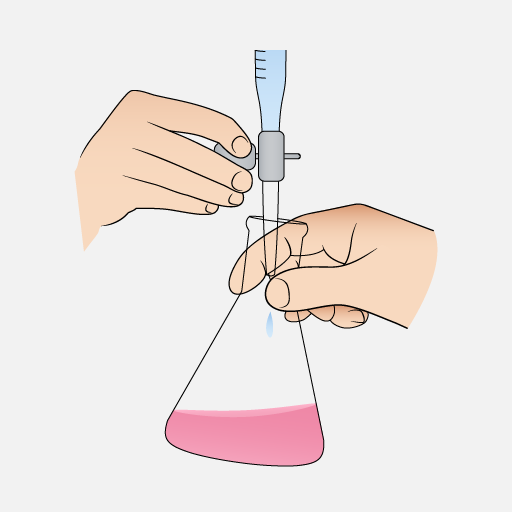
Two hands are holding a flask with a pink liquid inside. One hand is using a dropper to add a drop of liquid into the flask.
Do

Add the sodium hydrogensulfate drop by drop near the end point.

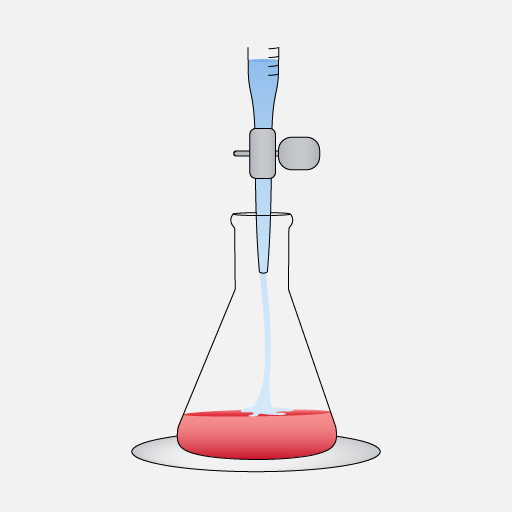
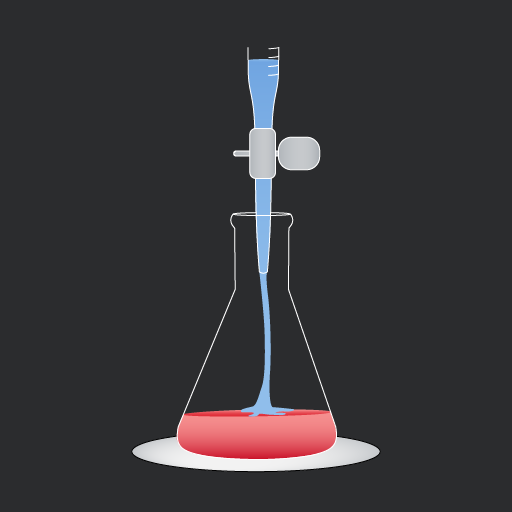
A laboratory setup featuring a conical flask with red liquid at the bottom and a blue pipette dispensing a clear liquid into the flask.
Don't

Add too quickly – it is easy to miss the exact endpoint and overshoot the titre.

Add to favourites

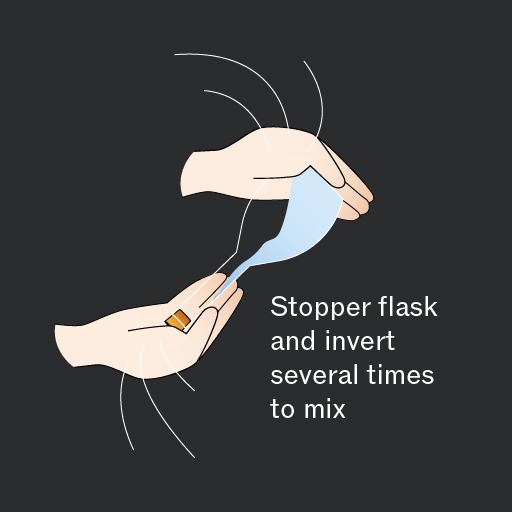
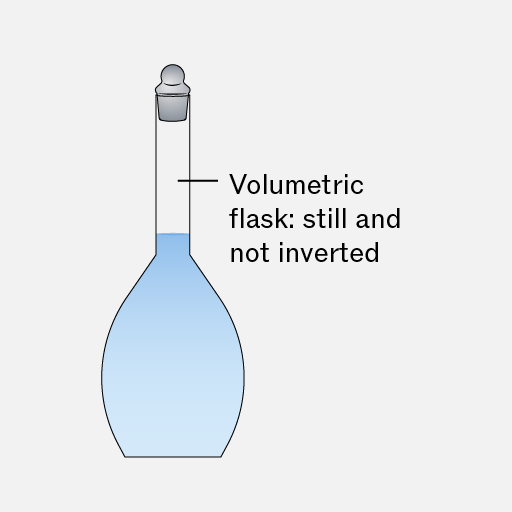
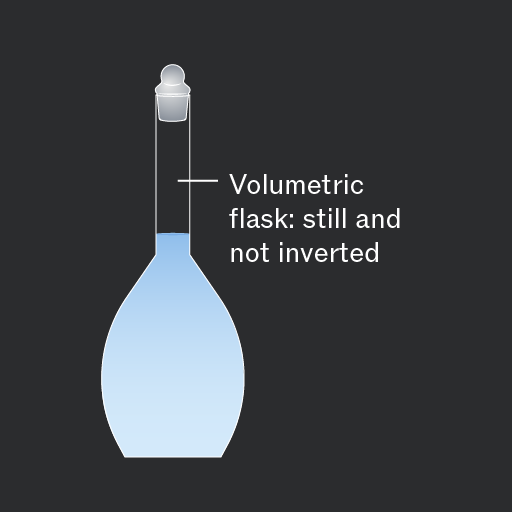
Ensure your standard solution is fully mixed.
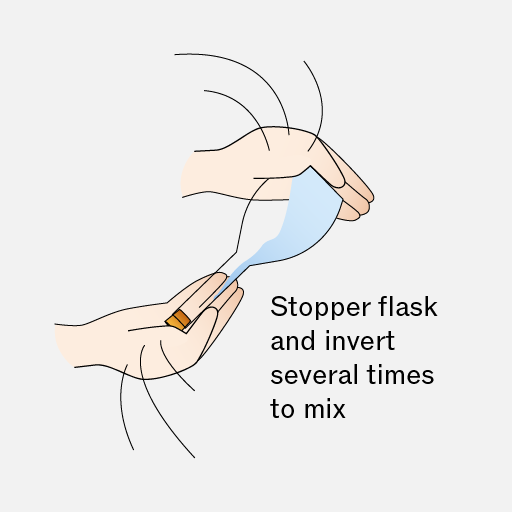
Hands holding a stopper flask, with the instruction 'Stopper flask and invert several times to mix' displayed beside it.
Do

Invert the volumetric flask several times after filling to the graduation mark.

A volumetric flask filled with blue liquid, labeled 'Volumetric flask: still and not inverted.'
Don't

Use the standard solution without inversion – The top of the solution may be less concentrated than the bottom. Even small concentration differences can affect the accuracy of your results.

Add to favourites

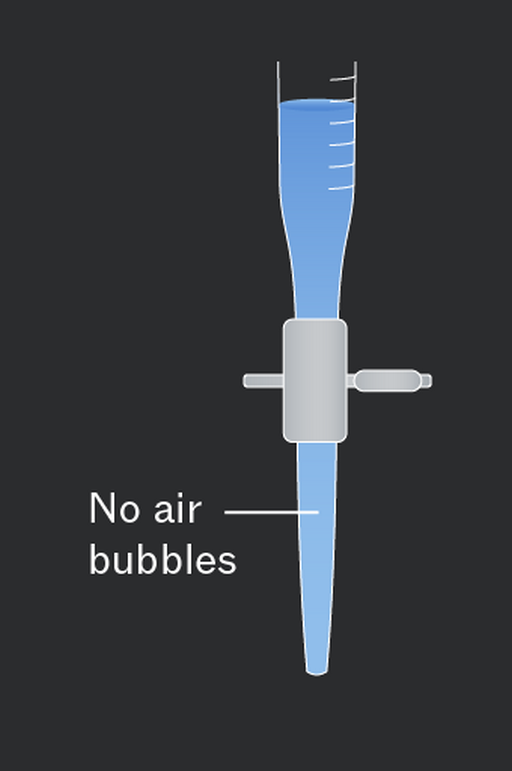
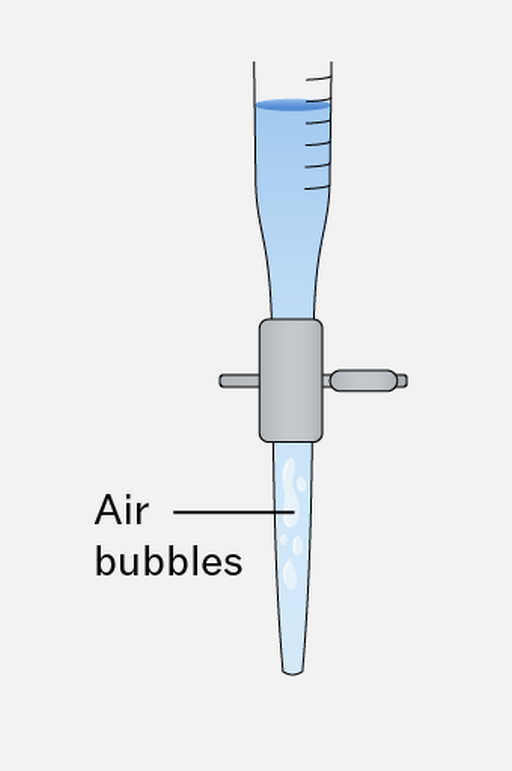
Ensure the burette is free from air bubbles.
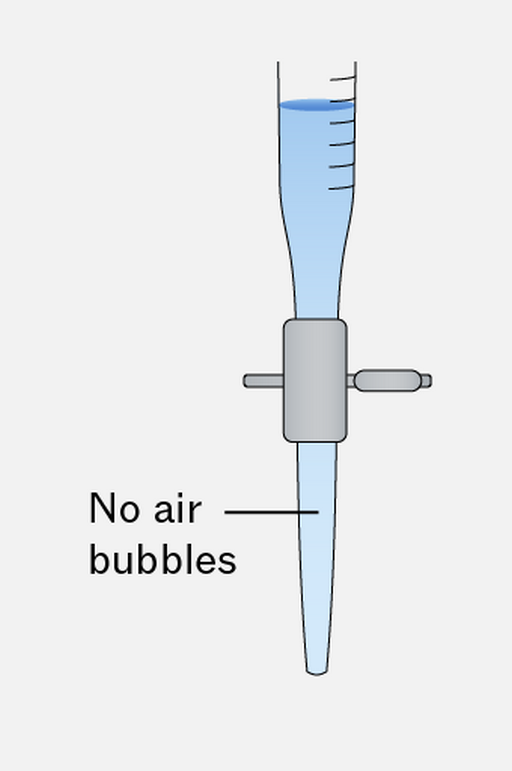
A laboratory apparatus showing a graduated pipette filled with liquid, indicating 'No air bubbles' next to the pipette.
Do

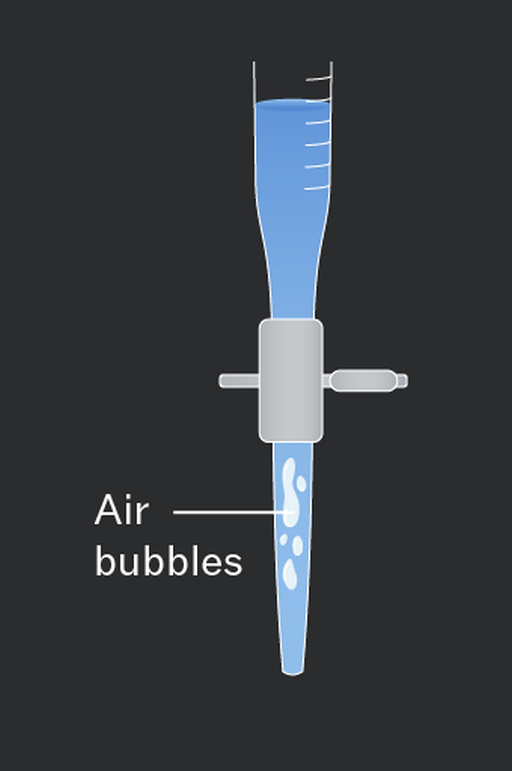
Check the burette for air bubbles and remove them by running some solution through the tap before starting the titration.

A diagram of a pipette filled with blue liquid, showing air bubbles at the tip. The pipette has measurement markings on the side and is connected to a gray stopcock.
Don't

Start titrating with air bubbles in the burette – The volume occupied by the bubble will be taken into your volume reading. Less solution will actually be transferred than is recorded.

Add to favourites

Use concordant titres (within 0.1cm3) to calculate the mean titre. Calculate the moles of in the pipetted sample using:

The 1:1 ratio gives the moles of in the mean titre, allowing its concentration to be calculated using:

Add to favourites